Updating a vSphere with Kubernetes Supervisor Cluster
With the release of the first vSphere 7.0 update we now are seeing how updates for vSphere with Kubernetes environments can be completed! Let’s dive into this post to see how I completed the upgrade of my vSphere with Kubernetes environment.
Pre-Requisties
Before we jump in, its always a great idea to review the release notes and the Updating vSphere with Kubernetes Clusters documentation.
The order to upgrade components would be:
- Upgrade NSX-T Data Center.
- Upgrade vCenter Server.
- Upgrade ESXi hosts.
- Perform a Supervisor Namespaces update (including Kubernetes upgrade).
The procedure to update a Supervisor Namespace is pretty straight forward:
- Navigate to Menu -> Workload Management
- Navigate to Namespaces -> Updates
- Select the Version that you want to update to.
- Select one or more Supervisor Clusters to apply the update to.
- Click Apply Updates.
The Update Process
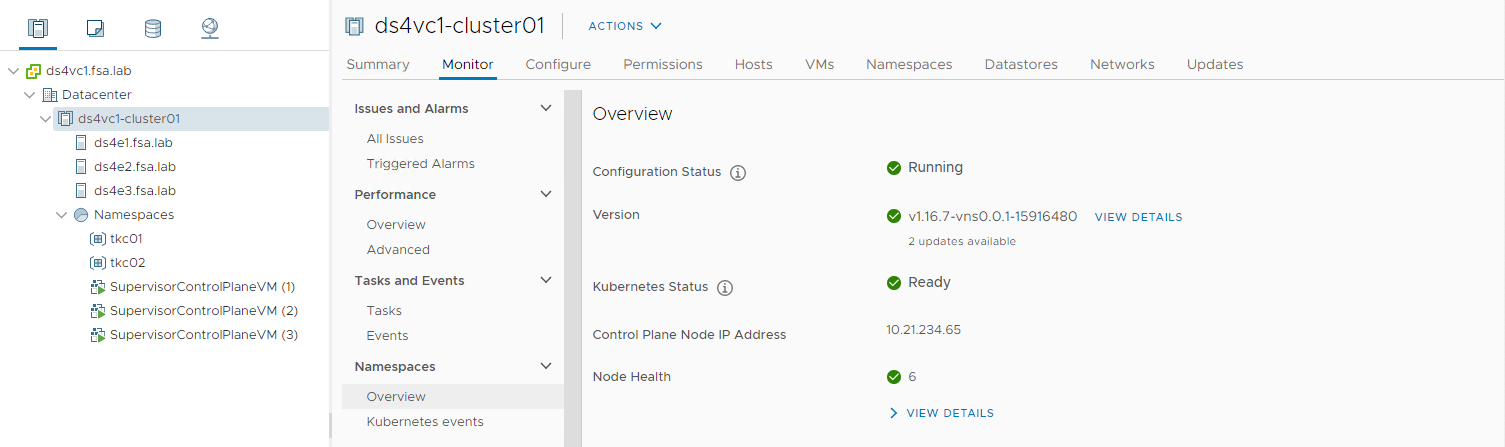
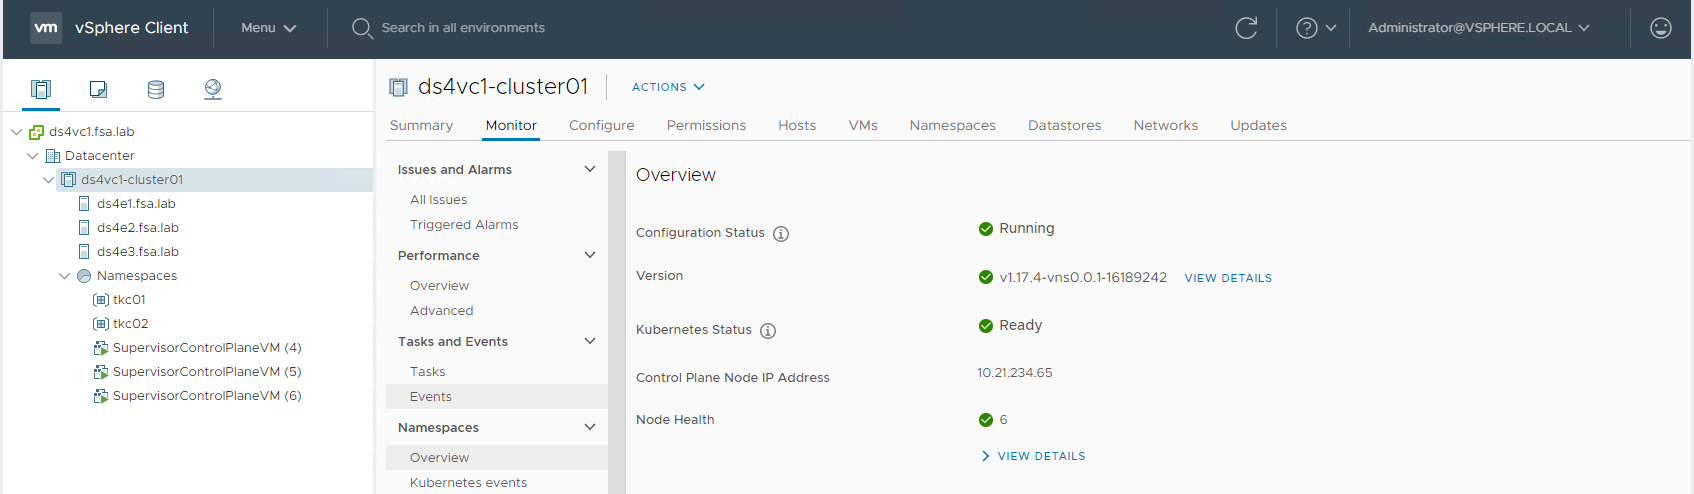
In order to perform an update your Configuration Status must be Running and Kubernetes Status must Ready. If they are not in these states your cluster will not be eligible to update.
If we head over to our Cluster -> Monitor -> Namespaces Overview we can check the status of our cluster.
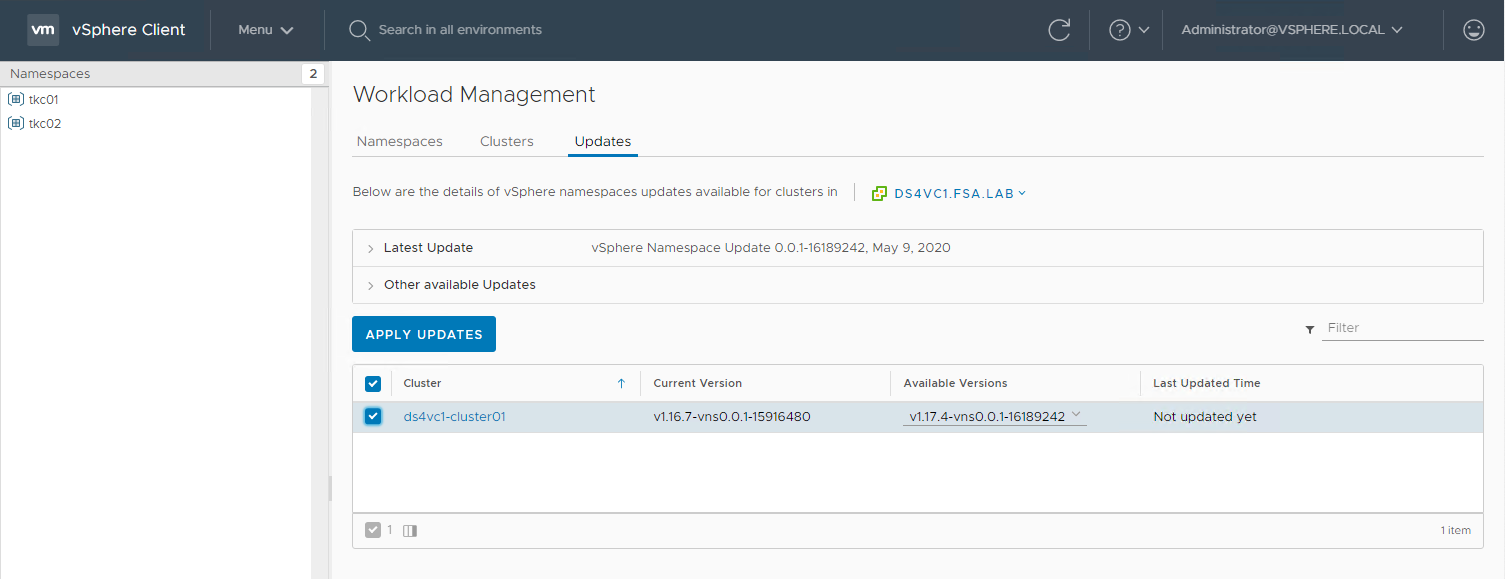
From the Available Versions you can choose which version of Kubernetes you wish to update to from the available list.
Select the Cluster and Click Apply Updates
Now we can monitor the Update Process.
Did you ever wonder why the Supervisor Cluster IP Pool is 5 IPs? Well the extra one is to for an additional Supervisor Control Plane VM as they are updated one at a time.
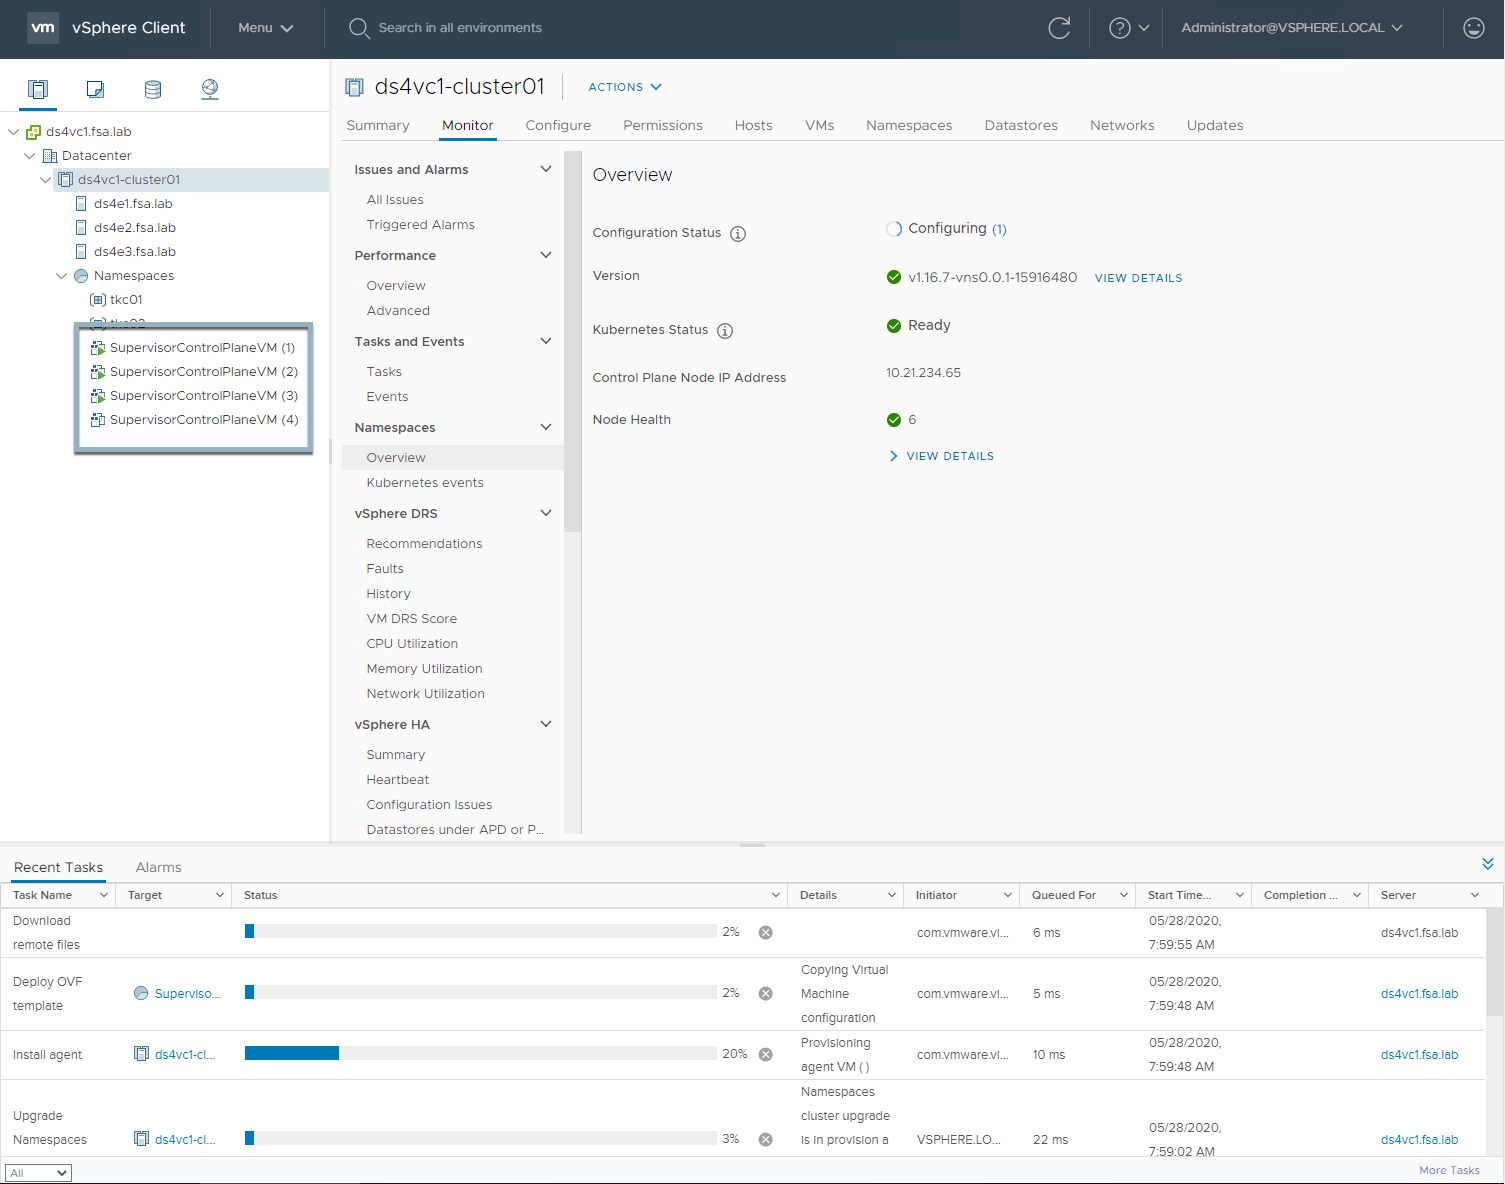
During the Update Process you can monitor the status by viewing the Recent Tasks or by tailing the /var/log/vmware/wcp/wcpsvc.log on the vCenter Server.
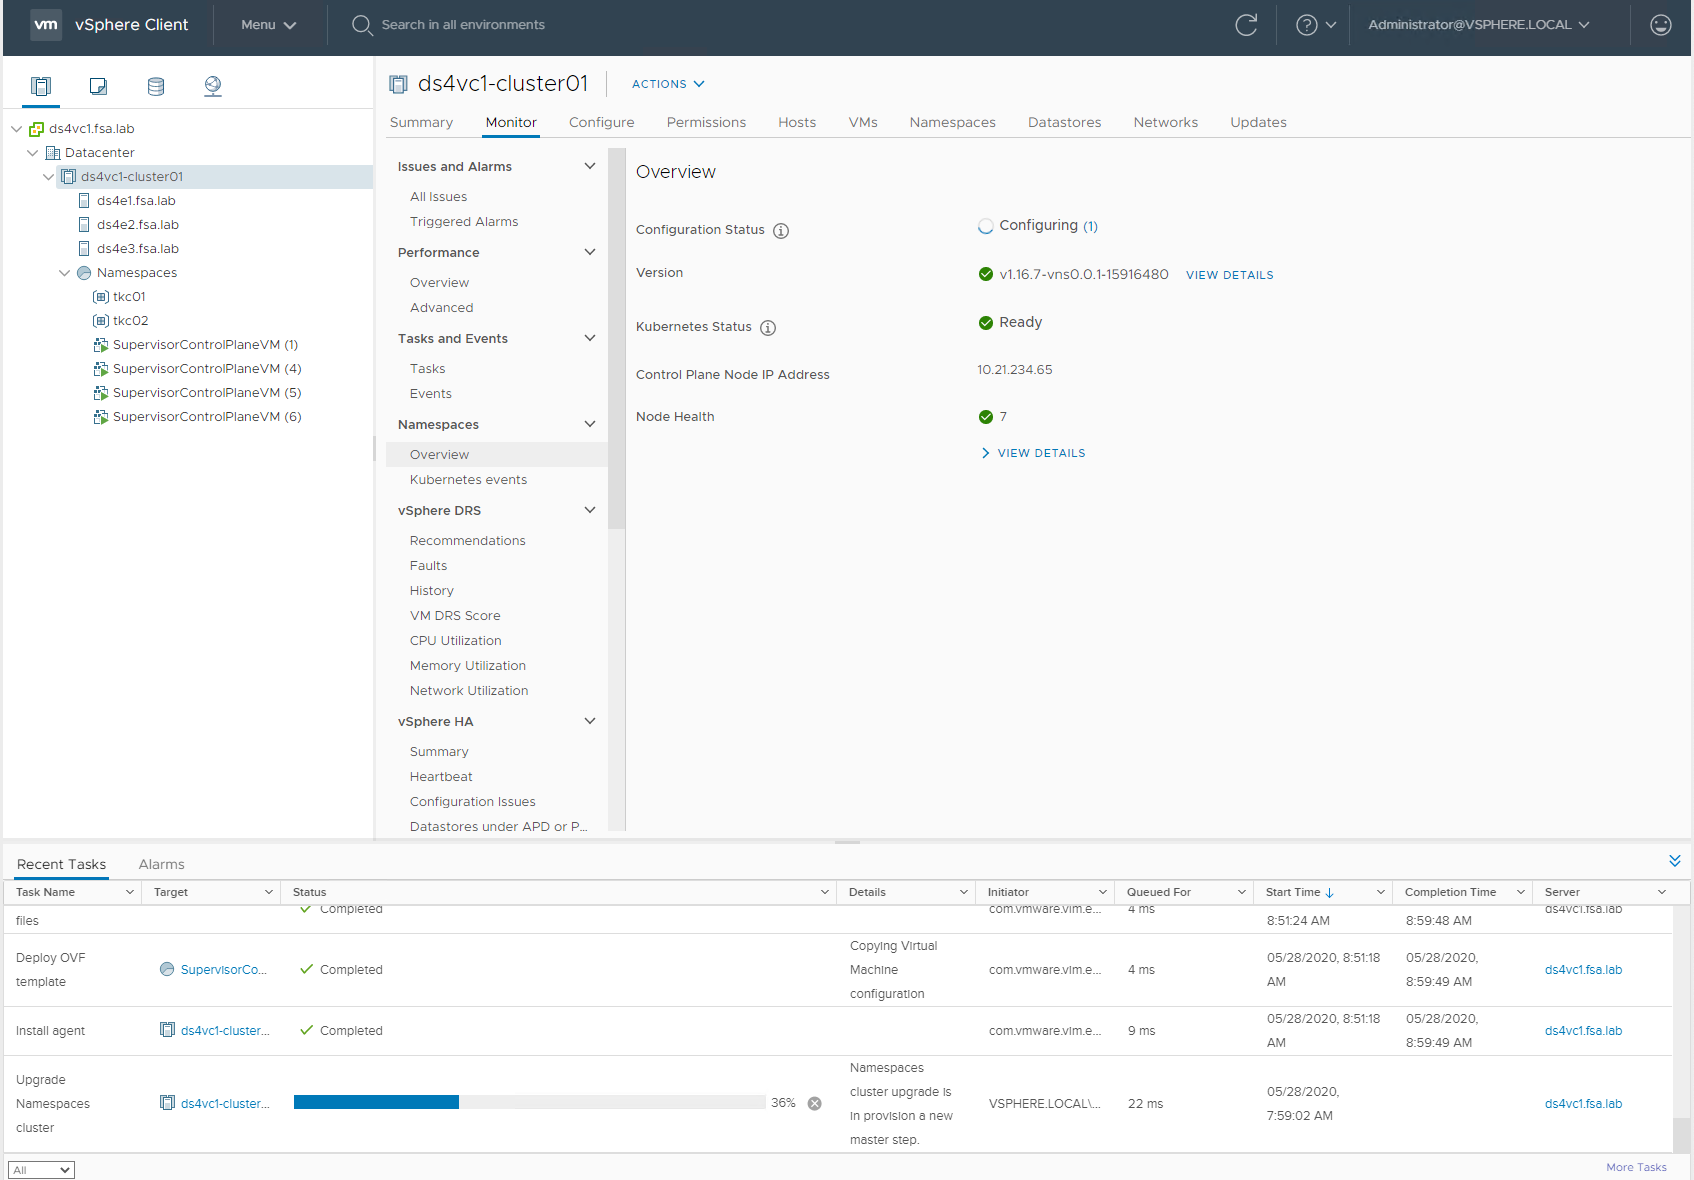
Once the Update Process is complete, you will see the updated Version in your **Cluster Namespaces Overview.
Troubleshooting
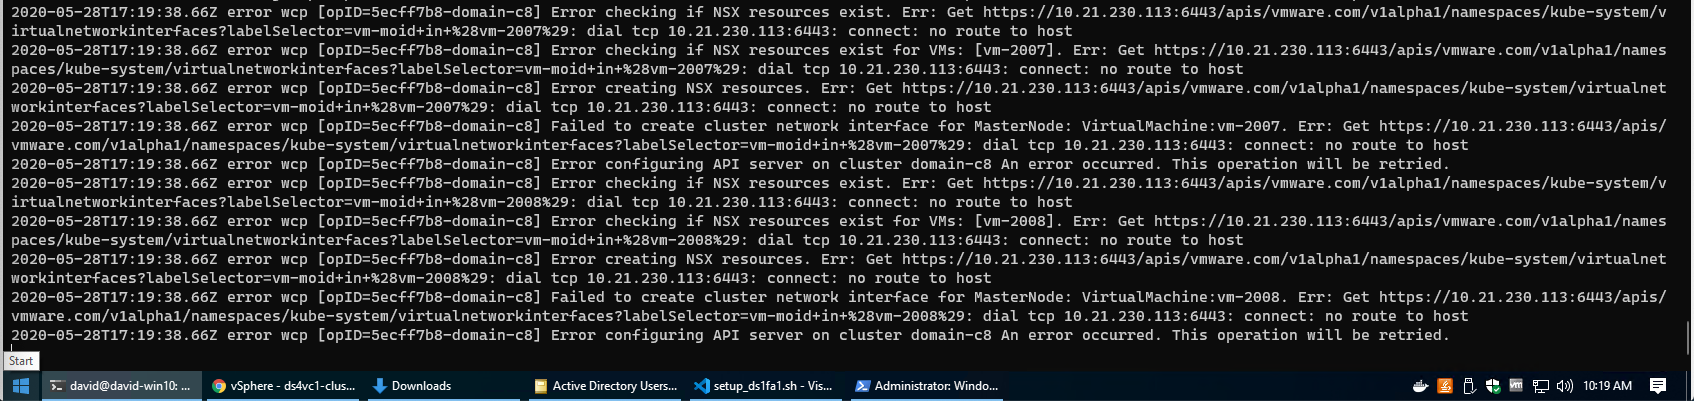
During my update I had to do some troubleshooting, possibly due to self-inflicted unsupportiveness. This particular environment is nested and may not have all the resources allocated that were needed. During my update process it could not validate the last node was up and running as it could not connect to port 6443. I could communicate with each node individually, but not the Supervisor Load Balancer. Looking at the logs I could see connection refused.
If I looked at the UI, i could also see that the VMs were angry as they had extremely high CPU Usage and were somewhat unresponsive.
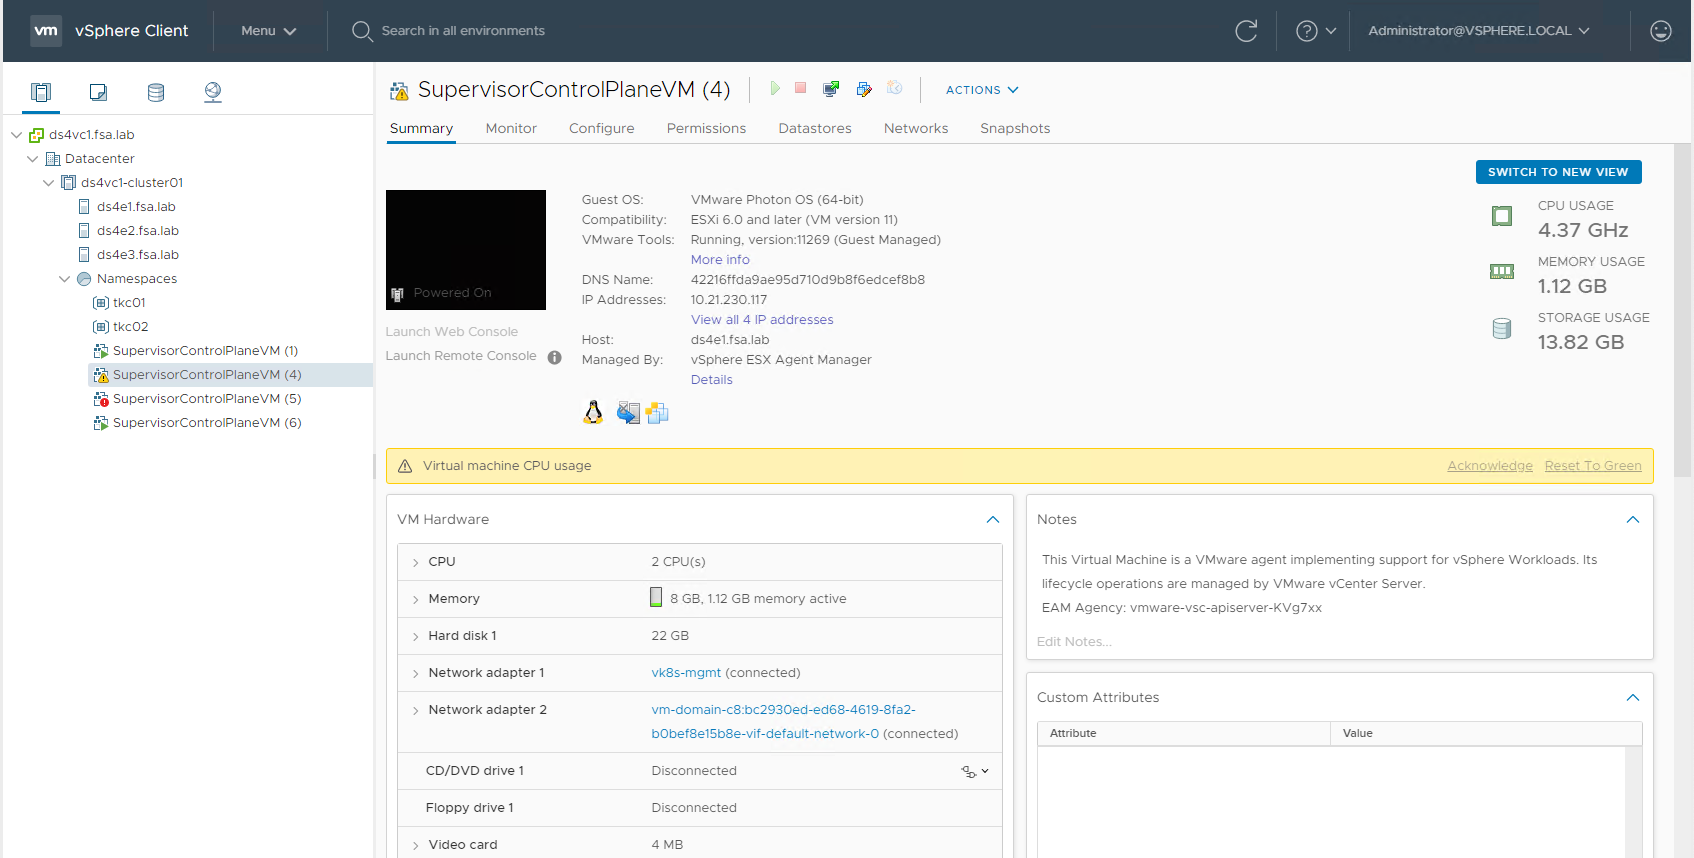
As these VM’s are managed by vSphere with Kubernetes there is no way to Manage them through the vSphere Client to reset/poweroff. I tried to just go in and execute a reboot from the VM but that did not work either.
To get my cluster to finish the update I had to go to the ESXi Hosts and use ESXCLI to forcibly kill the VM’s to PowerOff and then have vSphere with Kubernetes Power them Back on.
Those instructions are located here.
Conclusion
The update process for a vSphere with Kubernetes Cluster is quite simple, hopefully this has helped understand the process. Stay tuned for a future post on how we can update a Tanzu Kubernetes Cluster. Questions or Comments? Leave them below!
comments powered by DisqusSee Also
- Deploying Tanzu Kubernetes Clusters (TKC) on vSphere with Kubernetes using the TKG CLI
- Deploying Tanzu Kubernetes Grid (TKG) on VMware Cloud on AWS (VMC)
- Deploying Tanzu Kubernetes Grid (TKG) on vSphere
- Part 6: Deploying vSphere with Kubernetes - Provisioning and Managing a Tanzu Kubernetes Cluster
- Part 5: Deploying vSphere with Kubernetes - Using vSphere with Kubernetes