Using Bicep to Deploy an Azure Virtual Machine
Welcome to another blog on Automation! This one will be focused on deploying resources in Azure using Bicep. Follow along to understand what Bicep is and my thoughts on it.
Introduction
I always find it fun to play with new technologies. Most of my demos use Terraform or Ansible, but there are so many tools out there, that when I get asked for something new I go out and investigate it.
When I was first using Bicep, it seemed to me very familar to CloudFormation, which makes sense as it a similar way to deploy resources to a different Cloud Provider. The one thing I was NOT expecting, is that Bicep is only used to Deploy resources, when you delete a Bicep deployment–the resources still stay and require manual cleanup.
This blog will cover how to deploy an Azure VM using Bicep.
What is Bicep
According to Microsoft Bicep is a Domain-specific Language (DSL) that is used to deploy resources using a declaritive syntax. It provides a new experience for users trying to use Azure Resource Manager (ARM) templates.
Lets dive into deploying a Azure VM with Bicep below!
Pre-Requisites
- This is used to authenticate and deploy the resources to Azure.
- This is the infrastructure to run the Azure virtual machines.
Building a Bicep Template
My initial goal of building a Bicep file, was to use it to deploy a basic Azure VM. A Bicep file contains 3 main items.
- Parameters
- Variables
- Resources
A resource block is used to deploy a particular resource, this could be a vnet, nsg, subnet, vm, extension, etc…. really any Azure resource can be deployed here. A variable will be used in the resource block to specify a particular item, and a parameter will be used to pass an inline string into the variable fields.
The below sample deploys a Windows VM with a New NSG and a New Public IP into an existing Resource Group, VNET and Subnet.
Deploying Resources
Building the Bicep template was the hard part, it’s now easy to deploy the template through the Azure CLI. This document covers the deployment cli tasks in depth, but lets look below to see what we need to do specifically for this template.
Some of the variables were hard coded such as the Instance Type, however other variables are being passed through parameters. These are things that are dynamic such as the name, VNET, Subnet, Username and Password.
To begin the first thing we will need to do is login to Azure
az login
Once we log in we are able to run the command to execute the creation of the Bicep file.
az deployment group create --resource-group 'MyVMResourceGroup' \
--template-file deploy_win_vm.bicep \
--parameters virtualMachineName='testvm' existingVirtualNetworkName='MyVNET' \
existingVnetResourceGroup='MyVNET-rg' existingSubnetName='MySubnet' \
adminUsername='david' adminPassword='abcd1234!'
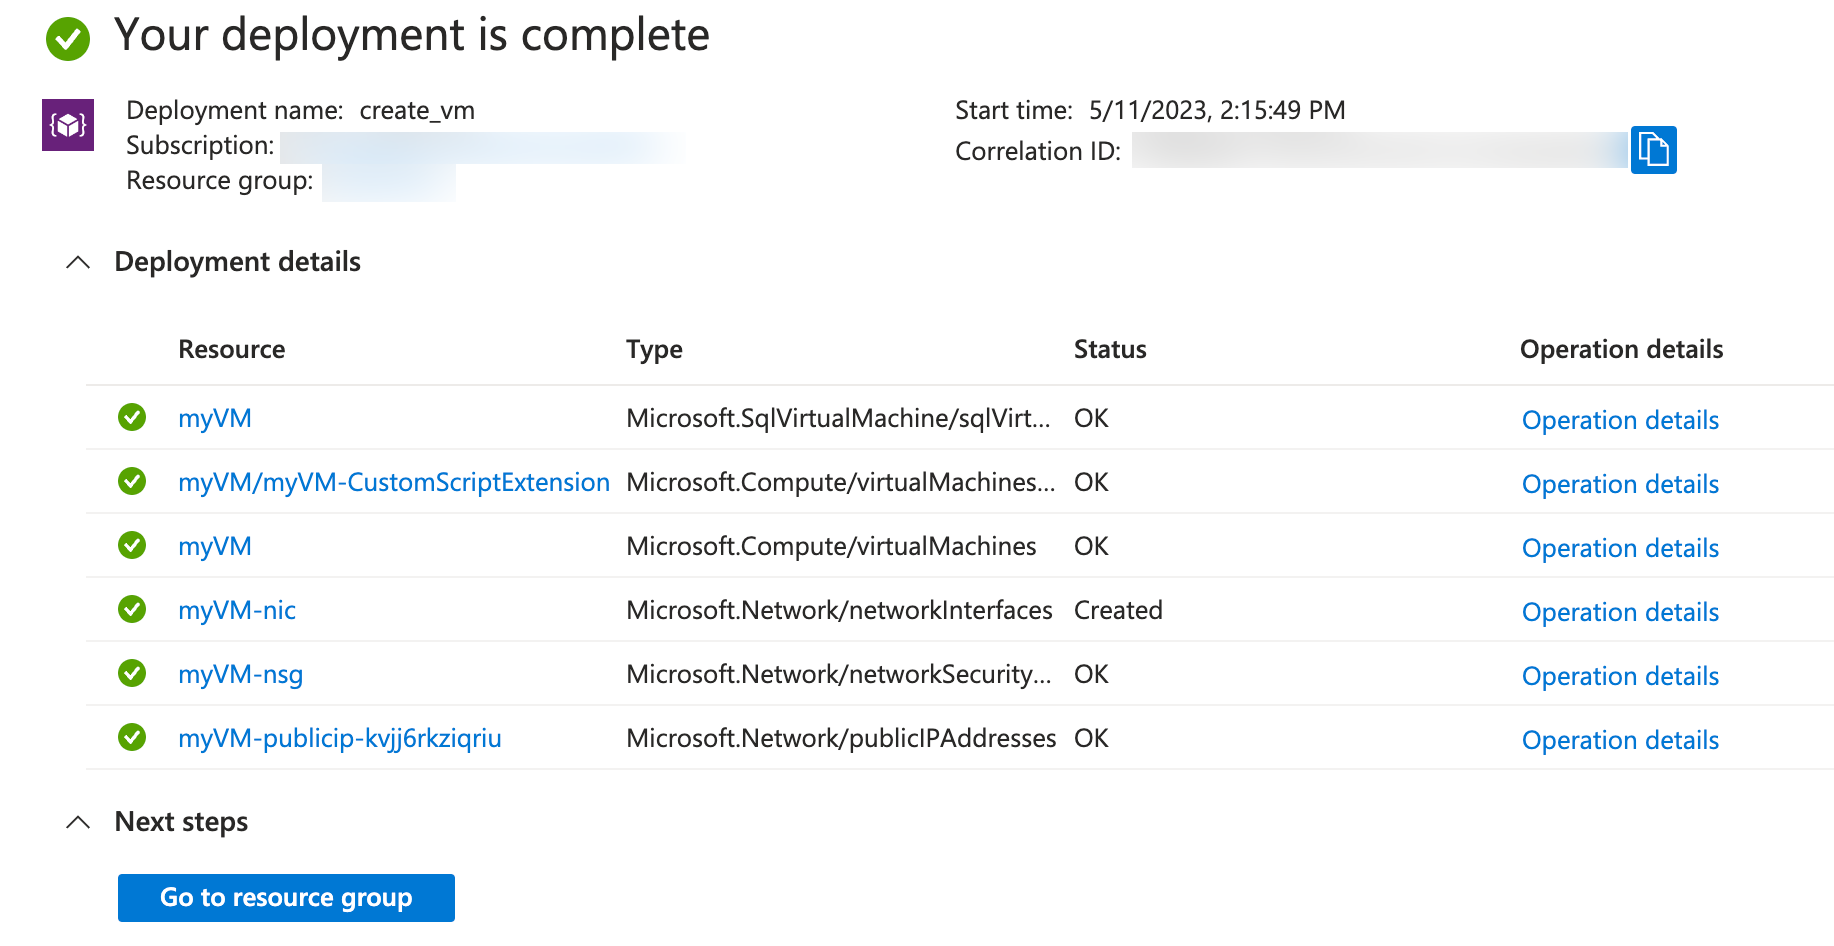
Once the deployment is running you can track it by navigating to the Resource Group and selecting Deployments. Here is where you can track the status of failed or success. When the deployment is completed, if successful you will see everything as green and can provide to the resource group to see what was created.
Closing
Hopefully this helped you understand what Bicep is and learn about it. I still really wish Bicep was able to manage the entire state of a deployment such as creation and deletion, but until then its still a really great tool! I will definitely be exploring this a bit more so look out for followup blog posts.
Any questions or comments? Leave them below.
comments powered by DisqusSee Also
- Deploying a Windows Azure VM with Hashicorp Terraform to Microsoft Azure
- Understanding Block Storage in Microsoft Azure
- Everpure Cloud Dedicated on Azure - Quick Launch
- Using the Everpure Cloud Dedicated Terraform Provider for Azure
- Everpure Cloud Dedicated Use Cases for Microsoft Azure - Terraform Edition