Deploying a Windows Azure VM with Hashicorp Terraform to Microsoft Azure
As a followup to my previous post on Automating EC2 deployments, I figured why not show how this can also be done with Microsoft Azure? Check out how to launch an Azure VM instance and run some scripts to customize your installation.
Overview
When it comes to automating deployments, its great to be able to use the same automation tool across clouds. This blog will focus on how to deploy a windows based Azure VM and run some custom scripts against it. My use case like my previous blog post is to run some custom scripts to configure ISCSI. Azure makes it easy to run remote scripts instead of adding the raw code. The attached example here will install choclately (windows package manager) and then install Notepad++. With this framework, you can have it do whatever you can automate with Powershell!
My example uses data blocks for the Azure Resource Group, Virtual Network and Subnet as these were already created. If you wish to have it create these resources, change them from data to resource blocks and it will require a few more variables.
Pre-Requisites
- This is used to authenticate to Azure to deploy the VM via Terraform.
- This is used to automate the provisioning using a Terraform .TF file.
- This is the infrastructure to run the Azure virtual machines.
Terraform Manifest Configuration
Download the sample manifest from GitHub and update the variables for your environment. This includes the Azure Resource Group, Virtual Network, Subnet and Interface. You will also need to update the Azure VM’s hostname, admin username and password as well as any of fields you wish.
provider "azurerm" {
    features {}
}

data "azurerm_resource_group" "resourcegroup" {
    name     = "Azure-ResourceGroup"
}

data "azurerm_virtual_network" "virtualnetwork" {
    name                = "Azure-VirtualNetwork"
    resource_group_name = data.azurerm_resource_group.resourcegroup.name
}

data "azurerm_subnet" "subnet" {
    name                 = "Azure-Subnet"
    resource_group_name  = data.azurerm_resource_group.resourcegroup.name
    virtual_network_name = data.azurerm_virtual_network.virtualnetwork.name
}

resource "azurerm_network_interface" "networkinterface" {
    name                = "Azure-NetworkInterface"
    location            = data.azurerm_resource_group.resourcegroup.location
    resource_group_name = data.azurerm_resource_group.resourcegroup.name
    ip_configuration {
        name = "Azure-IP"
        subnet_id = data.azurerm_subnet.subnet.id
        private_ip_address_allocation = "Dynamic"
    }
}

resource "azurerm_windows_virtual_machine" "avm" {
    name = "DS-TERRAFORM"
    resource_group_name = data.azurerm_resource_group.resourcegroup.name
    location = data.azurerm_resource_group.resourcegroup.location
    computer_name = "hostname"
    admin_username = "terraform"
    admin_password = "Password1!"
    size = "Standard_B1s"
    network_interface_ids = [
        azurerm_network_interface.networkinterface.id,
    ]
    os_disk {
        caching              = "ReadWrite"
        storage_account_type = "Standard_LRS"
    }
    source_image_reference {
        publisher = "MicrosoftWindowsServer"
        offer     = "WindowsServer"
        sku       = "2019-Datacenter"
        version   = "latest"
    }
}

resource "azurerm_virtual_machine_extension" "customize" {
    name                 = "customize"
    virtual_machine_id   = azurerm_windows_virtual_machine.avm.id
    publisher            = "Microsoft.Compute"
    type                 = "CustomScriptExtension"
    type_handler_version = "1.9"
    protected_settings = <<PROTECTED_SETTINGS

    protected_settings = <<PROTECTED_SETTINGS
    {
        "commandToExecute": "powershell.exe -Command \"./chocolatey.ps1; exit 0;\""
    }
    PROTECTED_SETTINGS

    settings = <<SETTINGS
    {
        "fileUris": [
            "https://gist.githubusercontent.com/mcasperson/c815ac880df481418ff2e199ea1d0a46/raw/5d4fc583b28ecb27807d8ba90ec5f636387b00a3/chocolatey.ps1"
        ]
    }
    SETTINGS
}
Deploy your Azure VM
Unlike with other Terraform providers where you specify login credentials in the manifest, Azure is a bit different. There are 4 options and the easiest is to authenticate using Azure CLI
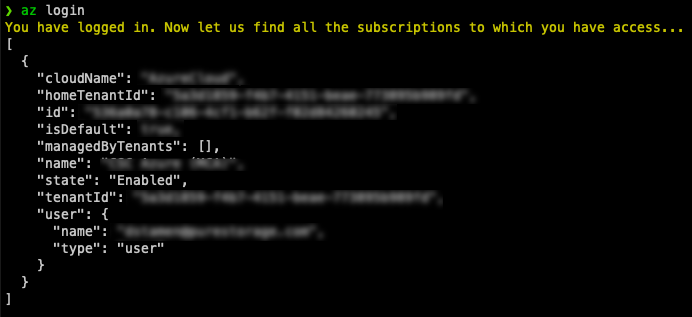
To login just run the below command. It will open a web browser and you’ll authenticate.
az login
Once authenticated, you can run your Terraform deployment.
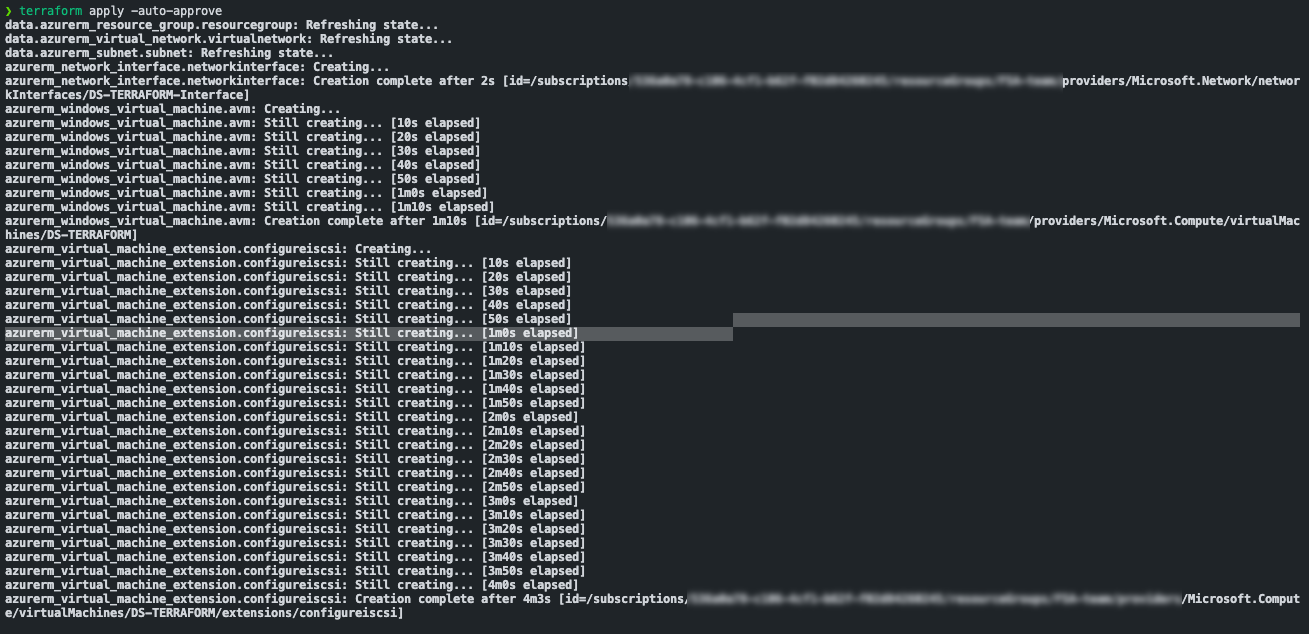
Run terraform init to install any needed providers, terraform plan to make sure all the connectivity is working and then terraform apply to deploy!
terraform init
terraform plan
terraform apply
If everything is successful your Azure Virtual Machine instance should be deployed in ~5minutes!
Closing
Hopefully this helped you get started with automating Azure VM deployment with Terraform!
Any questions or comments? Leave them below.
comments powered by DisqusSee Also
- Deploying a Windows EC2 Instance with Hashicorp Terraform and Vault to AWS
- Running vVols in VMware Cloud on AWS (VMC) on Everpure Cloud Dedicated (EC Dedicated) on AWS
- Using Terraform to Provision your Everpure Infrastructure
- Using Terraform to Deploy the Pure1 VM Analytics Collector
- Using Terraform to Deploy the VMware Event Broker Appliance