Deploying and Hosting Jekyll on Ravello Systems
Did you know you could get host your own blog on Ravello Systems?
Its actually quite easy and even easier with Jekyll. Jekyll is a great static content platform perfect for hosting your blog. It is all based on html/css/markdown and requires absolutely no database.
Please use my previous [blog]({% post_url 2015-09-08-how-to-deploy-a-jekyll-blog %}) on how to get it deployed.
Disclaimer: This is in no way supported or recommended by Ravello Systems, running this 24x7 even with 1CPU will consume most of your free trial/vExpert hours. So please use this at your own risk.
Lets get started!
- Logon to your existing Ravello account. If you do not have one you can sign up for the free trial
- Create your Application
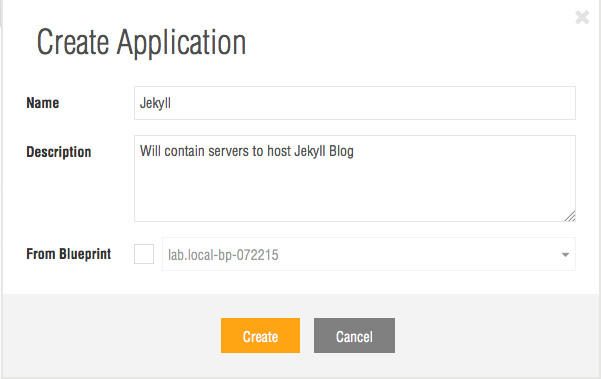
- Once your application is created you will be dropped to the Canvas. Here we can use a pre-existing blueprint(template) as our base. I used Ubuntu Server 14.04.1 20150301.
- Click and drag it to your Canvas.
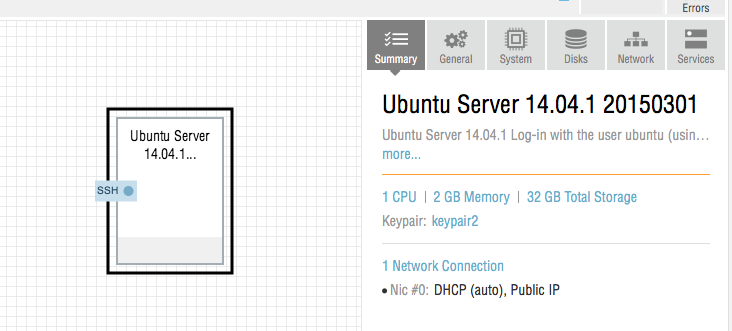
- By Default, the blueprint is a 1CPU, 2GB RAM, 32GB HDD which should be plenty to run your blog. You can customize your virtual machine on the following fields. Make sure to hit save!
- Summary: Overall Details of your VM
- General: Name your VM here, add a description and hostname. You will also create and choose your keypair to use to logon to the linux server
- System: Allocate your CPU and RAM here
- Disks: Modify disk size or allocate additional space
- Network: Set IP to be DHCP or Static within your application.
- Pro Tip: Use an Elastic IP so your server always has the same external IP
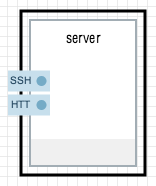
- Services: Set what ports you want available externally, by default 22 for ssh is there, you will want to add http(port80) for your website to become available.
- You will now see your updated VM and tabs for the enabled services. Now you are ready to Publish it.
- Here you will chose whether you want to publish your VM for cost or performance and if you want to use Amazon or Google clouds.
- I have chosen to use Amazon Performance based out of Virginia. You can see the details and breakdown on cost.
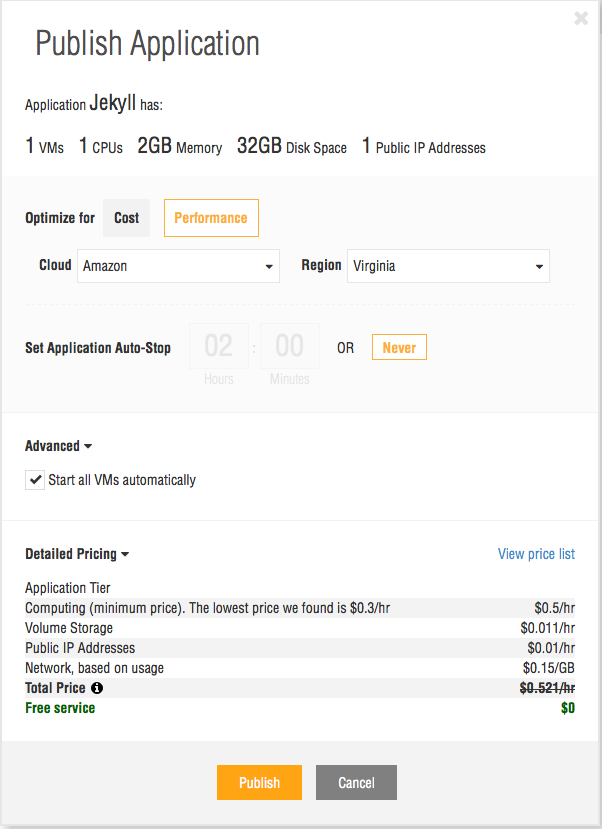
- Your VM will now be published and started.
- Once it is started you will see the status and the information to access it.
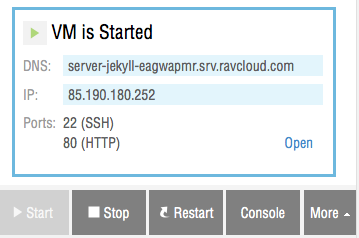
- You can ssh to yoserver-jekyll-eagwapmr.srv.ravcloud.com linux VM with the following syntax.
- ssh [email protected] -i keyfilename.pem
- Now you are logged on you can install and configure NGINX to host your website.
- Update the repository: sudo apt-get update
- Install NGINX: sudo apt-get install nginx
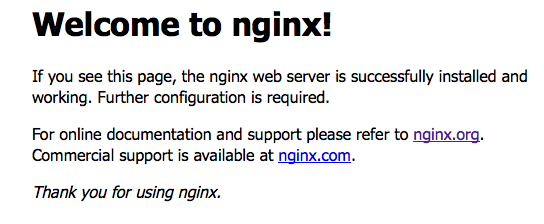
- Access your blog http://server-jekyll-eagwapmr.srv.ravcloud.com/
- If you setup your services appropriately you will now see the Welcome to nginx! site. What?! It is that easy? Yep!
- We will go one step further to reconfigure to host our own blog.
- Create directory to host your site: sudo mkdir /var/www/mydomain.com
- Make website folder available publically: sudo chmod 775 /var/www/mydomain.com
- Upload your website content here. For Jekyll upload the built _sites folder.
- Now lets configure nginx to host your new website!
- Copy default configuration file as a template: sudo cp /etc/nginx/sites-available/default /etc/nginx/sites-available/mydomain.com
- Use VIM to update file: VIM /etc/nginx/sites-available/mydomain.com
- We only need to edit a few lines here:
- Change host directory from: root /usr/share/nginx/html; to root /var/www/mydomain.com
- Change server_name to be your websites URL: server_name localhost; to server_name www.mydomain.com mydomain.com;
- Create link to publish site: sudo ln -s /etc/nginx/sites-available/mydomain.com /etc/nginx/sites-enabled/
- Reload nginx config: sudo service nginx restart
- Your new site is now available! Enjoy being your own hosting provider.