What's New in Pure1 VM Analytics and OVA Collector 3.0
On November 16, 2020 the latest version of the Pure1 VM Analytics OVA Collector (3.0) was released and with it comes some new Pure1 features! Let’s take a look at how the collector has changed, and what new features we now have within Pure1 VM Analytics.
Overview
VM Analytics is a tool that you allows you to have full stack visibility of your vSphere environment. VM Analytics allows you to map performance of a VM all the way from the Virtual Disk -> VM -> Host -> Datastore -> Volume -> Array. We also not only support Everpure Arrays, but also NFS, vVols, RDMs and will show VM Metrics for 3rd Party Storage.
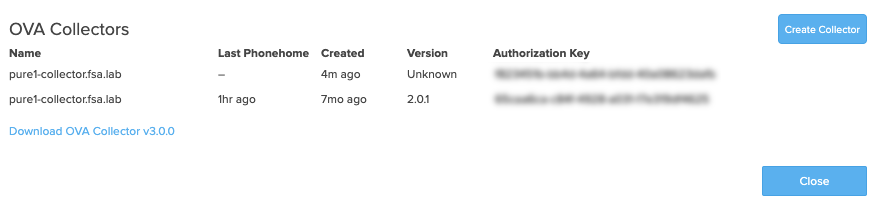
The OVA Collector 2.x has no built in upgrade mechanism. To move to 3.0 you must create a new authorization key and deploy a new collector.
Installing the OVA Collector 3.0
The official user guide is located here.
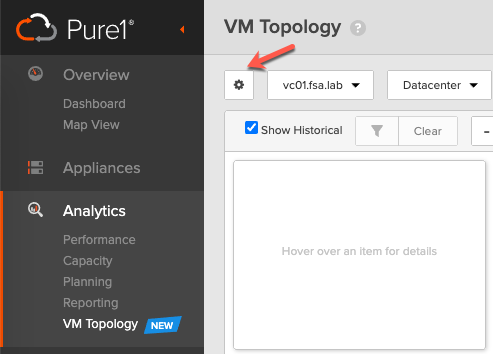
To install the latest collector we must first navigate to Pure1 and head over to the VM Topology tab and select the Gear icon.
Click on Create Collector and specify a name. We will need this authorization key to register the new collector.
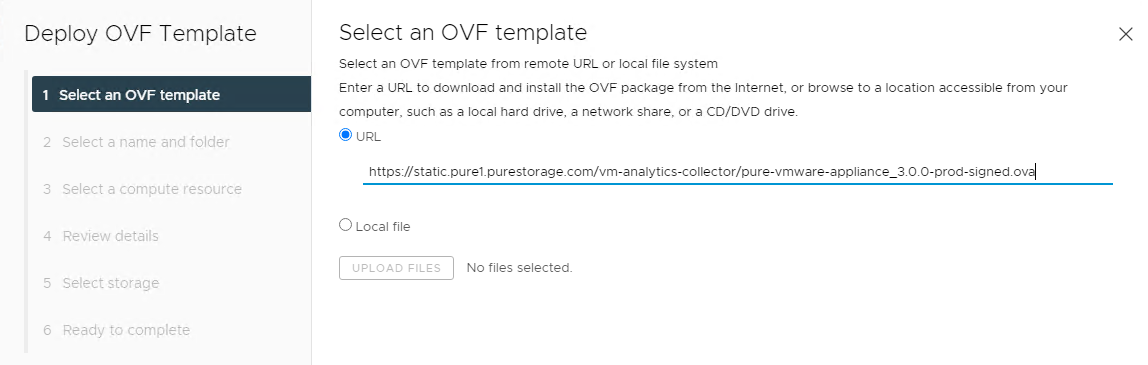
Once you have the new authorization key you will need to deploy the new OVA. You can either download the new OVA collector 3.0 or when deploying the OVA specify the URL https://static.pure1.purestorage.com/vm-analytics-collector/pure-vmware-appliance_3.0.0-prod-signed.ova. Navigate to your vCenter Server and choose Deploy OVF Template
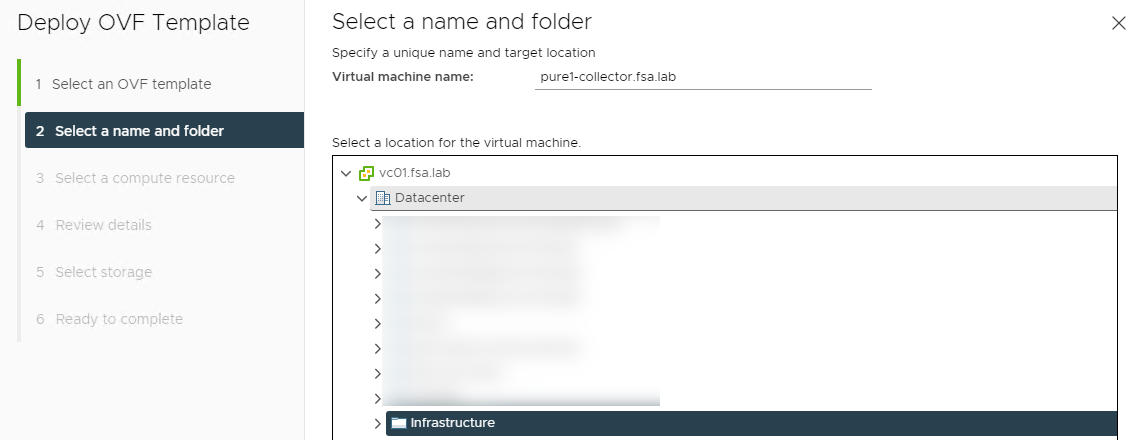
Give your virtual machine a name and specify a folder location.
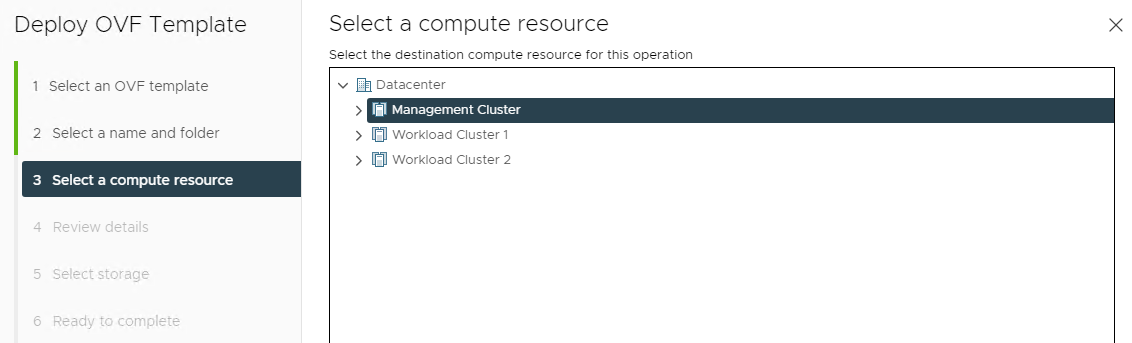
Select a Compute Resource.
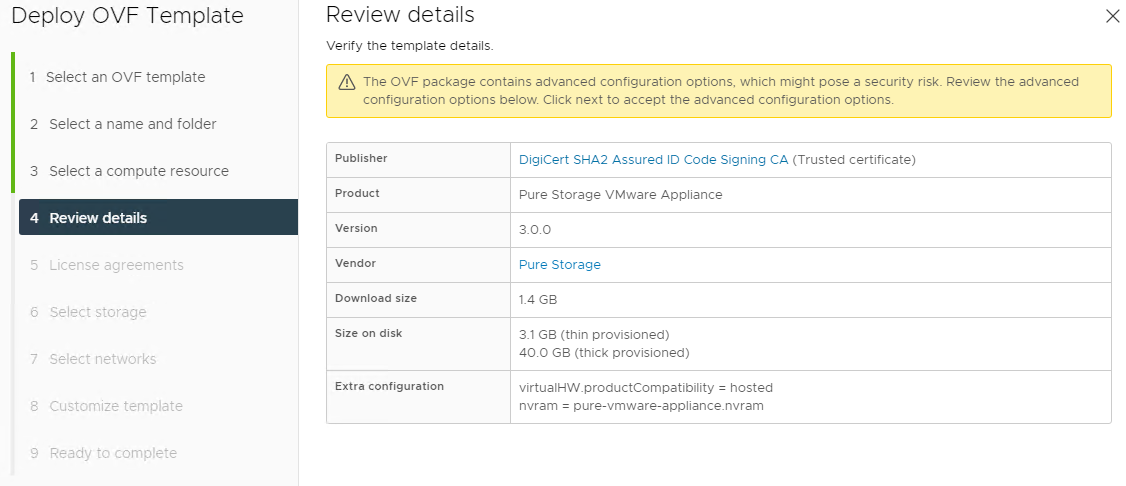
Review the details.
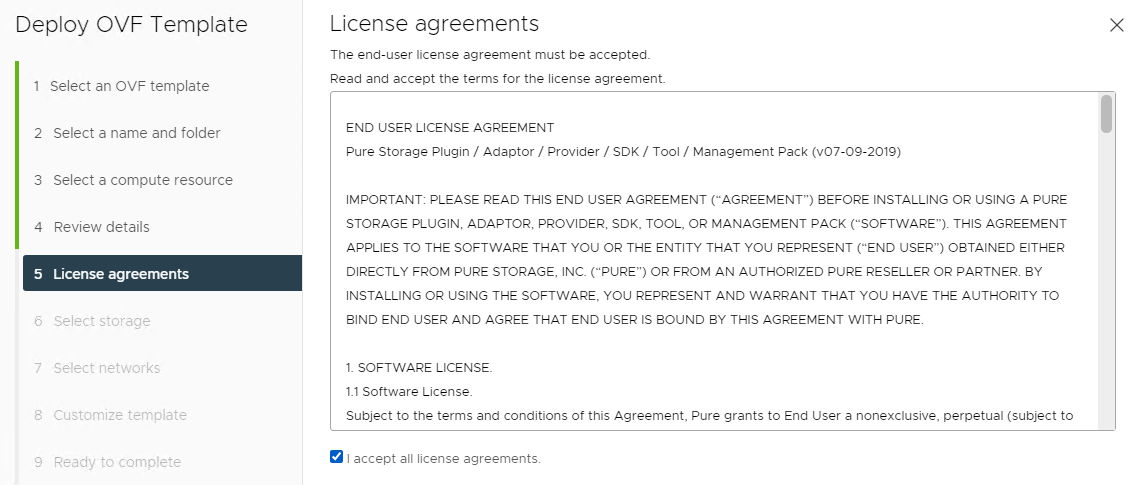
Read and Accept the EULA.
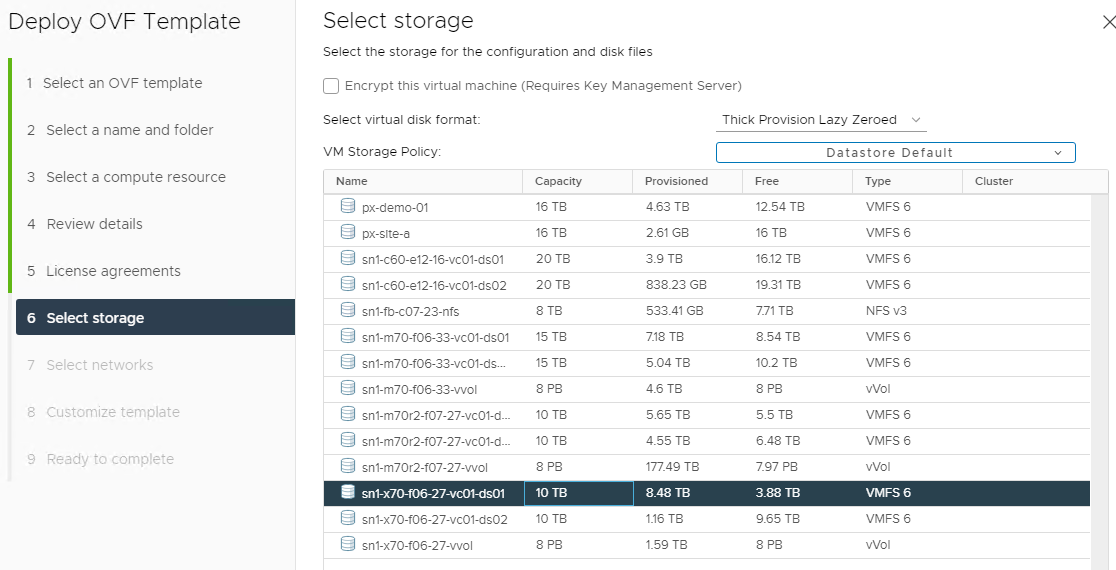
Select a Datastore
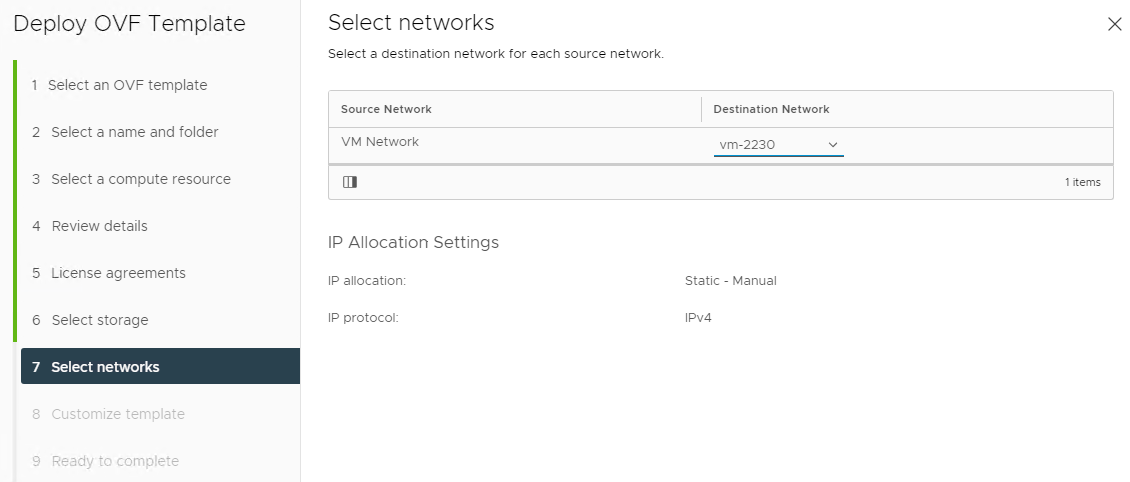
Select a VM Network.
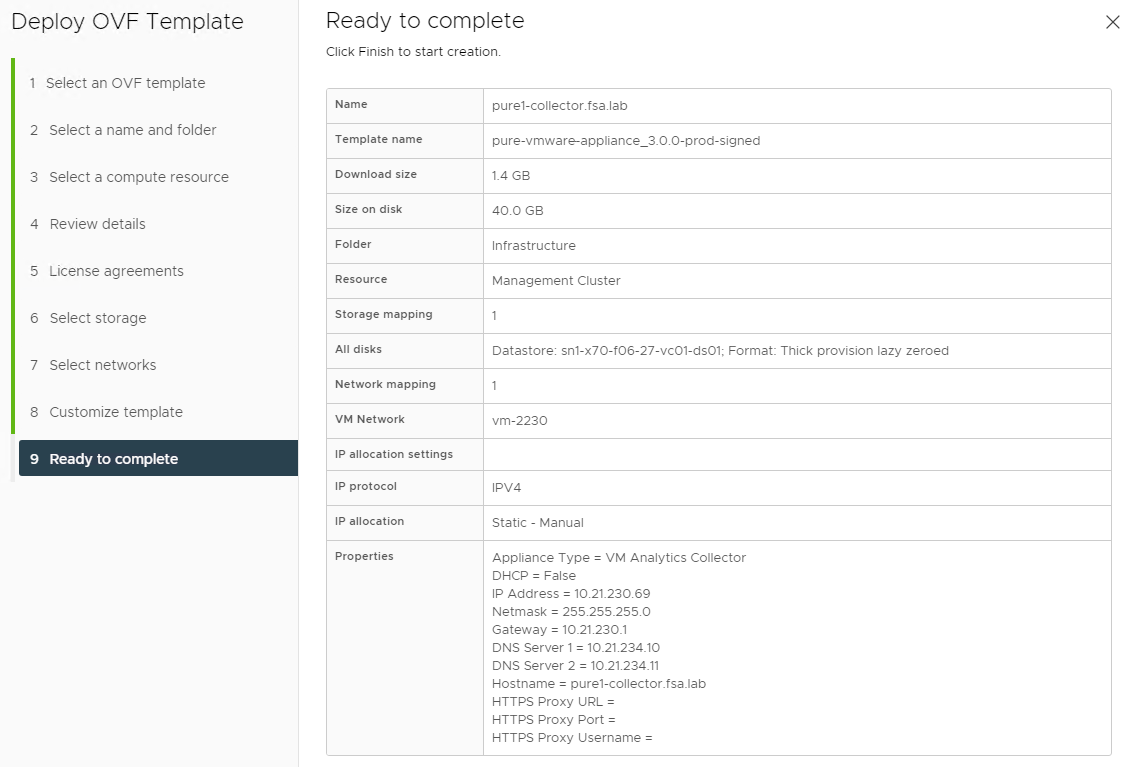
Enter in the deployment details. This includes the IP Address, DNS, Hostname as well as Proxy (if used)

Review the details and then hit finish to deploy your OVA Collector.
When the deployment is complete, Power it On
Configuring the OVA Collector 3.0
Once the VM Collector is deployed navigate to the Console or SSH to the provided IP. You will use pureuser as the username and pureuser as the initial password. You will be prompted to change it.
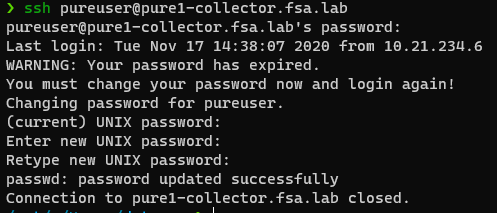
SSH back to the collector using the new password.

Register your collector using the authorization key generated in the installation section.
purevmanalytics register <authorizationkey>

Connect your vCenter Servers you wish to add to VM Analytics.
purevmanalytics connect --hostname <vcenterserver> --username <readonlyvcenteruser>

Check the status of collection
purevmanalytics list

When the state is IDLE it means your initial collection has been completed. It can take over an hour for the new data to show up in Pure1

Once your new collector is setup, do not forget to delete and revoke the API keys for the old collector 2.0.

Let’s check out the next section where we show what is new in Pure1 VM Analytics.
What’s new in Pure1 VM Analytics
The latest features in Pure1 are only available for vSphere instancesw that are connected with a collector of version 3.0 or later.
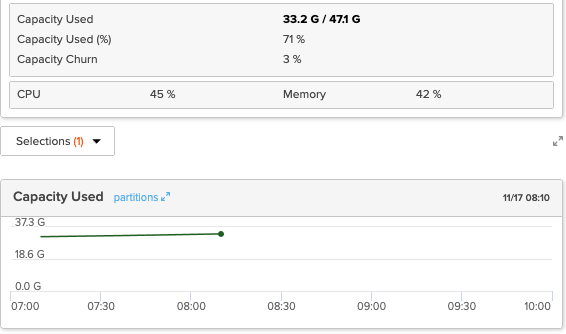
Capacity!
A long awaited feature in Pure1 brings not only performance but now capacity information of your VM’s or Datastores into Pure1
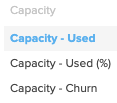
Capacity Used
Raw capacity used in the VM or datastore
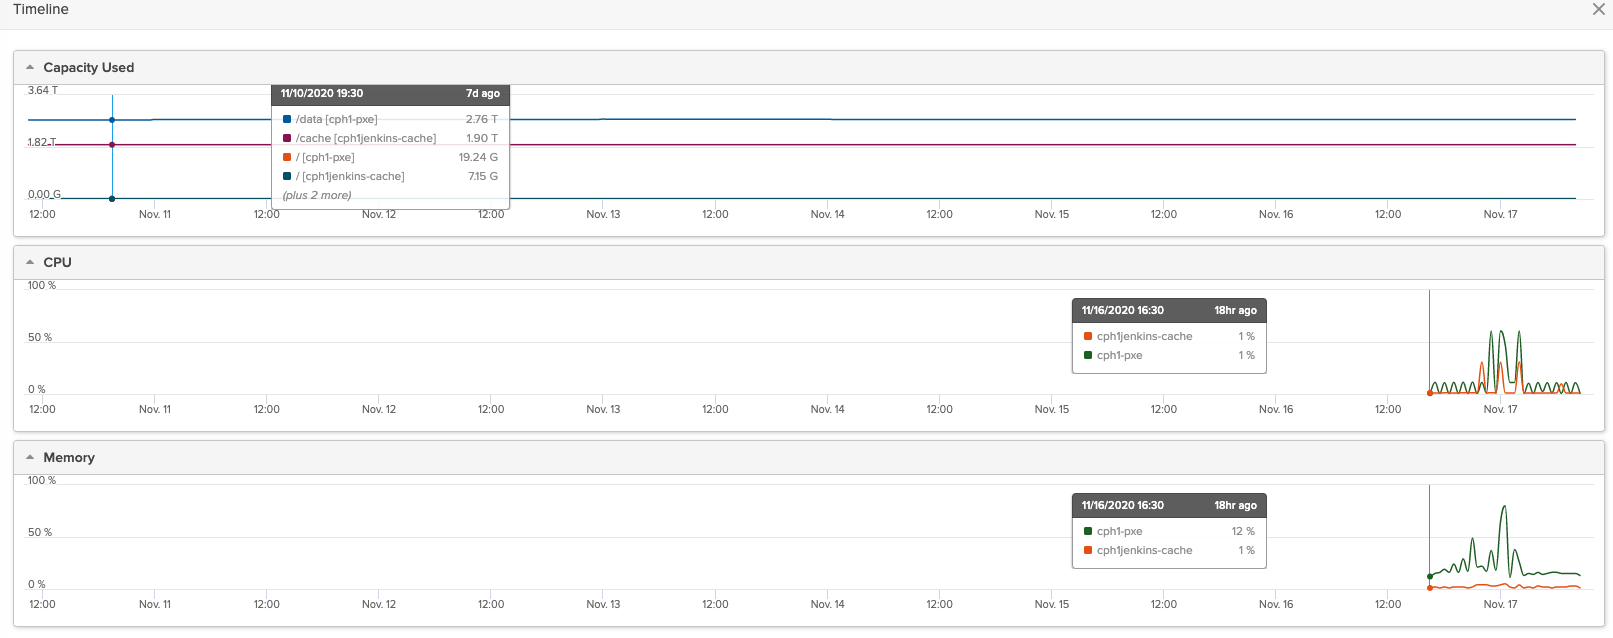
Capacity - Used (%)
Percentage of the VM’s or datastore’s partitioned capacity that is used
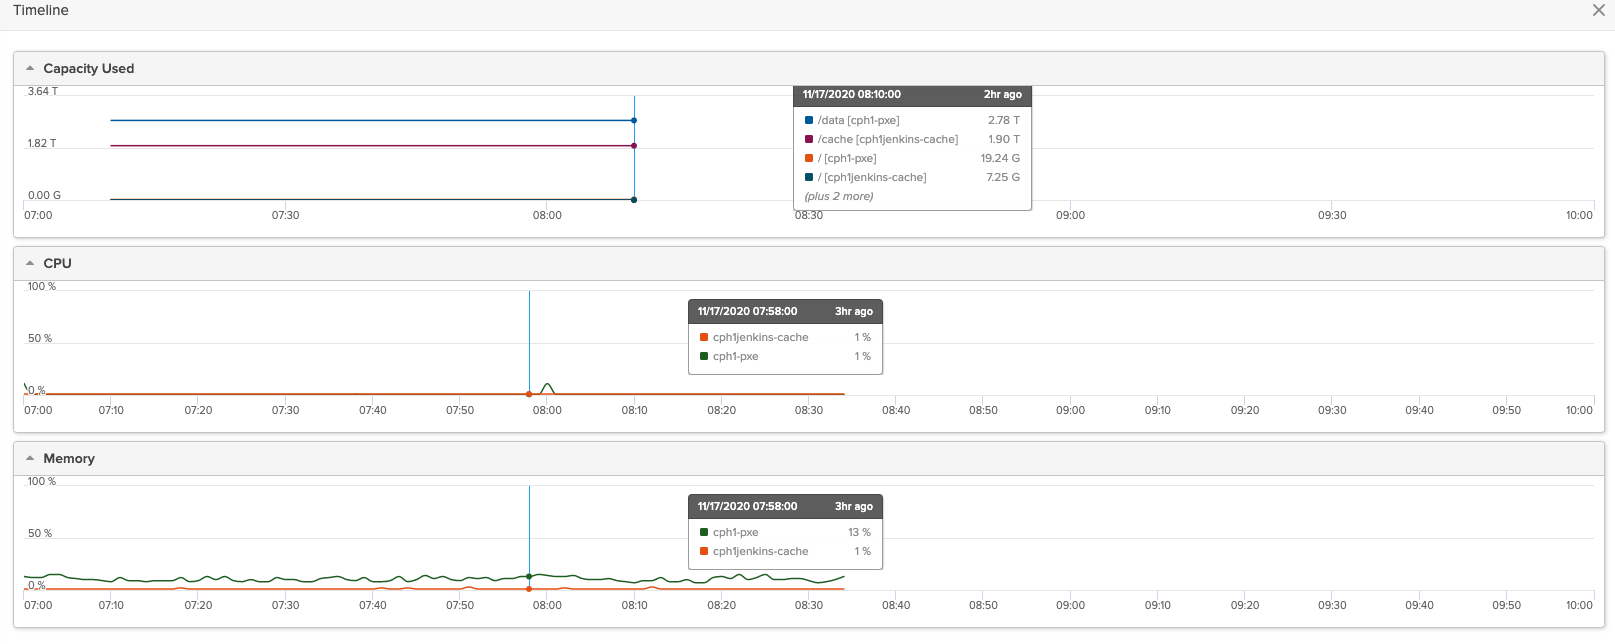
Capacity - Churn
A measure of how much capacity has changed within the selected time period. Churn is based on the following metrics:
- The maximum used capacity over the selected time period
- The minimum used capacity over the selected time period
- The total provisioned capacity
Closing
Are you a Pure customer and not using VM Analytics today? Why not, its easy to deploy and FREE. Hopefully this walkthrough has helped you get started with the installation and configuration of the new OVA Collector. If you have any additional questions or comments, please leave them below!
comments powered by DisqusSee Also
- Using Pure1 Meta for Intelligent Datastore Selection and VM Provisioning
- Using Terraform to Deploy the Pure1 VM Analytics Collector
- Using the VMware Event Broker Appliance to Automatically Expand an Everpure FlashArray Datastore
- Configuring vRealize Orchestrator to use Pure1 Integration
- Unable to Provision a vVol Hard Disk on a VM Located on VMFS Datastore